Adding bleed margins before printing
08/01/2016
Premedia services often demand that documents for printing include a so-called bleed margin, which extends beyond the finished document size (trim margin) to allow printing of artwork or background colors to the edge of the document. RagTime does not support directly entering bleed margins. However, it is possible to define a special page format, in which the bleed margins are already included in the paper size.
Such a bleed margin can easily be added in a few steps – preferably before you add content to the document:
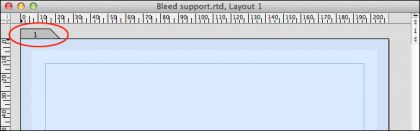
- When using a single page, click on the tab in the upper left document area and choose “File > Custom Page Setup…” from the menu:
- If you are using a multiple-page RagTime document, choose “File > Page Setup…” from the menu.
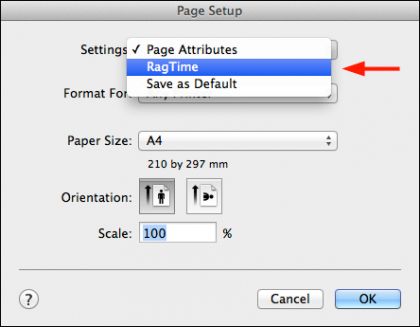
- Then select the entry “RagTime” from the pop-up menu “Settings”:
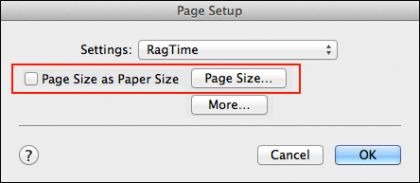
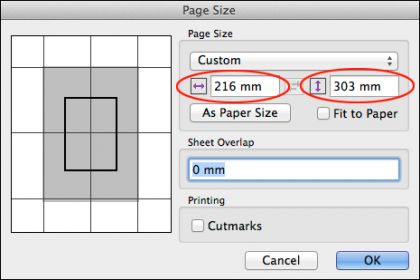
- Uncheck the “Page Size as Paper Size” option, click on the “Page Size…” button and enter a 3 mm addition per each page margin (compare last figure), which yields a total of 6 mm more in width and height:
- Finally confirm your changes by clicking on the “OK” button.
Note:
The added 3 mm (top, bottom, right and left respectively) make up the bleed margins. Elements that will be printed to the edge of the finished document should be extended into this bleed area.
If your document is already filled with content rather than being empty, an additional step becomes necessary:
- Specify that size and position of existing objects are not subject to change:
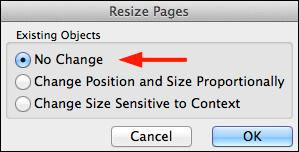
- Thereafter, you must shift all existing objects by the size of the bleed margin (in our example 3 mm) towards the right and bottom.
Note:
Defined help lines within the document must also be shifted by the size of the bleed margin. Magnetic grids can cause difficulties. When in doubt, switch off magnetic grids (in the “Windows > Rulers and Grid” menu).
After applying all those changes, the document has been increased by the size of the bleed margins (the specifications of the original page size are indicated in the figure below):
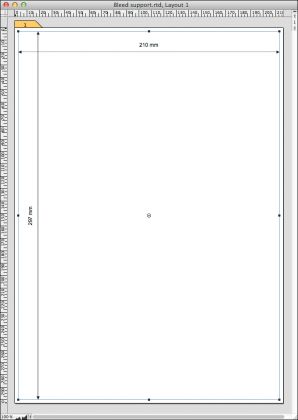
In the case of a DIN A4 document, as shown in the figure above, the page size has increased to 216 mm x 303 mm (210 mm x 297 mm plus 3+3 mm in heigth and width) and can be output via “File > Export PDF…”, with possible additional print options, and sent to the premedia house.